New Roof!

The roof had been an adventure and a fiasco. Thank goodness we noticed it was leaking badly (despite assurances from sellers and inspectors that everything was FINE). In October we hired a roofer, and through weather delays and I’m sure a little over promising on how quickly they could get to the job, 2.5 months later and they are finally putting on the new roof.


They tore off the old roof and found a ton of dry rot:


$&7#%<~{ it! The dry rot is not a surprise and is part of our sense of urgency on completing the new roof. We’ve had signs all the way down to the drywall that shit was leaking pretty badly. But to have the contractor put a price tag on it is always painful.

The good news is that it’s going to be done, and it’s going to be amazingly waterproof.

Before and After: the Bathroom

It’s been a tough few weeks. Just as things were beginning to come together with the house and I had tons of material to write about, we moved. Then, as soon as we were getting settled, the election happened. We don’t know how bad this is going to end up being in the long run, but I do know for sure that Laura and I are panicked, and so are a good deal of our friends and community. Regardless, we are moving forward in a guarded way. We are taking care of ourselves and our community, trying to be strong & courageous for whatever comes next. We are grateful for each other and everything we have. So.. onto the house and the first in several Before and Afters.

bathroom-a-mess-ready-to-post
Whatcha doin’ in there, honey?

The bathroom was completed 4 days before we moved in. Laura thought that was a little too close for comfort. I wasn’t worried. We do have a 1/2 bath downstairs. And a utility tub (although I can’t say I was excited at the prospect of bathing in the “Utili-tub”, it seemed doable in a pinch).

We (mostly Laura) managed the bathroom reno very closely every step of the way. She was on site when the Master Plumber came to install the fixtures, and he ended up needing her assistance to connect the faucet to the pipes behind the vanity.

The end result of the bathroom rebuild is pretty darn amazing. The bathroom reminds me of when we stayed at The Nines in Portland a couple years ago. It’s super swanky! A few features include: rainfall showerhead, glass shower walls (no more shower curtain!), infinity drain, new toilet (splurge!), crystal chandelier, and one of those above-vanity lights that has built in heating tubes that keep the mirror from fogging up. Showering is a whole new experience of luxury and satisfaction from all the hard work and planning. The last piece of the puzzle is getting the fan vented when we have the roof replaced in December.

Before:

bathroom-before-to-post-1

bathroom-before-to-post-2

shower-before-2

shower-before

After:

vanity-after-ready-to-post-3

shower-after

terlit-after

sink-after-2-ready-to-post-1

Hiring Roofers

It’s been about a week since our roof leak debacle began. We’re getting close to a fix, but it hasn’t been easy. Last week I called about 10 roofing companies. I also put out a request on Thumbtack and Buildzoom which have generated pretty good responses. There were a couple of demoralizing moments. For example, one roofing company picked up the phone and the guy commenced to interrupt and correct my terminology for the problems with the roof, mansplaining what he thought was wrong (without having seen it), then tell me they were booked until March or April 2017. He closed with telling me that I should call him back after I find out that all the other roofers are also booked that far out, and that I was pretty much S.O.L.

Then there was the guy whose in-person sales pitch lasted an hour and a half with no end in sight. He hinted at the beginning that the estimated price would be “a couple of digits in front of a comma”. Uh, no. I have 3 other bids from reputable companies that are way less than that. I felt bad for this guy who couldn’t pick up on the signals that his sales pitch was taking way too long. More so, I felt sorry for myself since I will never get that time back.

I do appreciate folks coming out to look at the roof and provide quotes. I realize it takes time & effort and they don’t get paid unless we go with their bid. It’s just not what we thought we were going to be doing the week before we move in. The house is still largely in disarray and we have a ton of other stuff to do.

roofing-post-it-planner
This alarmingly pink Post-It note illustrates my attempt to get a grip on the roof catastrophe

Thankfully, the original crappy phone guy was wrong about timelines. I found a couple of roofers (4 solid bids) with reasonable estimates who can wrap the roof immediately and replace the whole roof soon. The unexpected expense is… annoying and scary. I’m trying not to think about it. There is no way around it. I do wish we could have planned for it. In case you’re wondering, there has been no word back from our previous inspector and the situation with the sellers needs to be approached thoughtfully.

In the meantime, the rain keeps coming down and we keep checking the attic. Yep, still leaking!

The roofers we hired are coming to “dry-in” (cover the worst leaking areas on) the roof this afternoon, and will be starting the full roof replacement in the next few weeks. I’m relieved we have it booked so we can refocus our attention on finishing touches and moving in. A shout out to Laura, who has been at the house all day every day this week supervising plumbers (and helping them, because she is a bad ass like that), installing shelves, fixtures, installing trim, venting the dryer, and general heroics.

In better news, stay tuned for the bathroom reveal. It’s gonna be a f%&*ing spa-like paradise.

Roofing Disaster

Up until Thursday, we were feeling pretty good about the house. As with any remodel, there have been wildcards, unexpected challenges & expenses, but overall we were making progress and the house is looking great on the inside. We have given notice at our apartment and are moving in at the end of the month.

When Laura went over the other day to chip away at a few more lighting and hardware fixture replacements, she went into the bathroom and rain water was pouring in from the bathroom fan fixture (!!!). I wasn’t at the house yet, but she called me immediately with a “Houston, we have a problem” announcement. I immediately put out severall calls to emergency roofers, including one who said, “It’s getting dark soon, and we don’t work when it’s dark, so no – we can’t help you”.

Further investigation into the attic revealed that the roof leak over the bathroom is not an isolated problem. The roof is leaking in about 8 different places that we can see, including through the flashing around the fireplace and vents, and through cracks and nailholes throughout. Water is streaming into the house and walls at every corner, and most of it can’t be caught with buckets because it’s seeping through cracks and running into the house in multiple areas. It appears to have been leaking like this for some time (perhaps years) due to incorrect installation and a heavy does of denial.

attic-roof

We are a little freaked out. Paired with the arrival this weekend of a Pacific Northwest storm of historical proportions, we are dealing with this the best that we can right now.

I won’t go into the details here because the story hasn’t played out yet, but a few facts: we did get an inspection (which included the roof) before we closed on the house, and we did ask specifically about the area above the bathroom, and were reassured that there were no problems or repairs needed.

roof-from-above

We don’t mess around with structural problems. We prioritize major issues and fix them right away. Even with our first house, we had the roof replaced before we moved in, and that roof wasn’t half as bad as this one. It’s frustrating to be blindsided like this.

Right now we are getting several bids for roof replacement and a report from a roof inspector with details on WTF is going on. This weekend we are at the house working on other projects and trying to stick to the plan. It’s just a house, it’s just money, and we will figure this out.

Fancy Bathroom Chandelier

We are getting close to completing the bathroom. All the pieces are now in place, but we’re waiting on the plumber to come  out and finish the shower hardware, vanity sink hook up, and toilet. We could probably figure out those last two items on our own. But we’re not messing around when it comes to plumbing. It’s too important to do wrong and we don’t really have time to learn how to do it well.

Excuses aside, we have been DIYing plenty in the bathroom. We finished the wall cleaning and multiple coats of primer and paint, and Laura picked out and installed a fancy pants chandelier. 


It came with white cotton gloves to use for handling the crystal baubles(?) I don’t even know what you call those things. 

As a counterpoint to how elegant the chandelier is, there was a cloud of profanity as Laura installed it, which apparently wasn’t easy.

The ranch will be generally rustic with some reclaimed wood, imperfect floors, a brick fireplace, but the bathroom will be a little bit fancy (because why not?).

IKEA Kitchen Cabinet Assembly

cabinets-in-progress-3
Getting the IKEA cabinets (as well as assistance to put them together) has been an ordeal. About 6 weeks ago, I tried calling IKEA to schedule the measuring service they advertised on their site, but it was impossible to reach anyone. We were going to use their DIY CAD program online, but it didn’t work. The “create a new account” page ended in a circular loop. 😐

We were pretty set on the IKEA cabinets because of the design and pricing, so we perservered. We went to IKEA in the morning on a weekday and scheduled one of their in-house contractors (Kitchen Helpers) to come out and measure and put the data into their design tool. That appointment was a couple weeks out. Then, the person was a no-show, and rescheduled for the following week. Grrr.

Finally, the Kitchen Helpers rep came out and measured. We weren’t 100% sure the measurements were accurate because we watched the tape measure sagging while they measured. But we figured we didn’t have walls on either end, so if it varied by a few centimeters, no big deal. Laura re-measured some areas before we ordered.

Then the fun part: we went back to IKEA (we were able to go on a weekday, thank heavens) and walked through the design with an IKEA rep and placed the order. The IKEA design person was really good, and walked us through the whole process. She was also a wizard with that buggy CAD program, hallelujah!

The cabinets were all in stock and ready to be delivered within a week. With so many other scheduling delays, this was a pleasant surprise. Here’s what 74 boxes of IKEA cabinets look like:

ikea-boxes

We considered putting them together ouselves, but instead prioritized our sanity & marriage. We had a professional cabinet guy lined up. He was slow to respond, but came highly recommended. We played phone tag for a week, then he put me on his schedule, which was 3 weeks out. GREAT! Then a week later after seeing the schematics, he called me back and said he was 5 weeks out, and could we not schedule an actual date yet. For Pete’s sake. We don’t have that kind of time. We can’t be paying mortgage AND rent for another month. Plus, the countertops can’t even be templated until the cabinets are complete, which then takes another 2 weeks to be machined for installation. 4 to 5 weeks out for the cabinet build would have pushed out our kitchen completion over 2 months.

Back to the drawing board. I put a request for bids on Thumbtack and got a decent one. This carpenter appeared to have a lot of experience, ok reviews, and matched The Kitchen Helpers’ pricing. However, before I give a random dude I met on the internet access to my house, I Google him.

This guy was a full-on, Hillary hating, Bernie-bro turned Trump supporter. I don’t typically care about the politics of people I work with. We don’t get into it, and there’s no need to. But this guy’s Twitter page was full of illogical rage against Hillary and garish cartoon charicatures of her. Since Prop 8, I don’t respect people’s political opinions if they are racist, homophobic, or misogynistic. I will argue with them and call them out. I did us both a favor and told the guy we were going with another bid.

I found another company online that installs kitchens and specifically said IKEA cabinets were their specialty. I spoke with them and they sounded good, although said they were more expensive than the Kitchen Helpers, which was fine. Their quote took over a week to put together, which is fine. But it included a ton of extras, like painting ($600), project managing ($800), and a porta potty for workers ($350). The cabinet assembly was in there for about twice as much as our baseline from Kitchen Helpers. The estimate total was over $11,000. It made me realize how easy it is to go into massive debt on home renovation if you let someone else be in charge of your project, don’t shop around, and don’t do some of the work yourself.

So here we were… boxes of IKEA cabinets still in our living room, move-in clock ticking. I searched on Craigslist and found a handyman who had some good woodworking & IKEA experience. I called him and he was easy to reach. He sounded like a nice, reasonable fellow who enjoyed IKEA instructional diagrams. The Internet search didn’t turn up anything weird. I called a few of his references and they LOVED him, so we hired him! He’s been the right person for the job and we’re happy.

Here are the cabinets going in before the countertop and the kickplate. Don’t worry about the floors! We have a plan 🙂

cabinets-in-progress-1

cabinets-in-progress-2

New Shower Starts to Take Shape

shower-wall-in-progres

After demolishing the soffit above the shower, we had the hole in the ceiling (as well as several other miscellaneous holes that were created when we removed the old vanity & medicine cabinet) repaired and drywalled. The drywall was something we hired out. I’m sure we could figure out drywall (and we may still get the opportunity), but we needed a professional to swoop in and finish the job quickly.

Our original design was a wet-room style shower where there is no lip or edge from the bathroom floor to the shower itself. The design included an infinity drain and custom glass shower walls. However, when we researched the complexities of the floor installation in a seamless wet room, we realized it was almost impossible without rebuilding the entire floor. In order to drain properly, a slope would have to be created through installing an elevation gain on the other side of the bathroom floor.

The point of this renovation is not to make the house 100% perfect at the expense of our sanity and budget. Since we are on a schedule and don’t want to spend all our money on the bathroom floor, we went with a standard shower pan installation with a ~4 inch lip you have to step over to get into the shower. I GUESS I can manage to pick up my feet and step over the edge (dramatic sigh).

For the floor, Laura found some lovely matte gray hex tiles from Home Depot for about $9/sq foot. For the shower walls, we found some 3″ x 8″ marble wall tiles locally for about $24/sq foot. But Laura is an internet shopping genius. She found a distributor in Texas who had the exact marble tiles we wanted for $7/sq. foot. And that deal was not too good to be true – it was legit. Less than 2 weeks later, we had a pallet of marble subway tiles in our driveway. None of them were broken. They were all in great shape and carefully packed.
marble-pallet

We had a recomendation for shower/tile work, but they were at least 6 weeks out, ugh. We found some tile guys on Thumbtack, and they ended doing an amazing job and being great to work with. They implemented our design and improved on it by suggesting some custom shelving made out of two tiles sandwiched together and embedded in the wall (you can see below). The integrity of the shower is probably one of the most important elements of your house, so you don’t want any half-ass or learn-while-you go scenario. We were excited to have professionals handle this part.

shower-wall-2.jpg

Next steps: Now that the tile is in, we can have the custom shower doors measured & created, and the plumber back to finish up the hardware. Then we can make plans to actually move in and shower as often as we want!

How to Remove the Smoke Smell from your House

Living-1
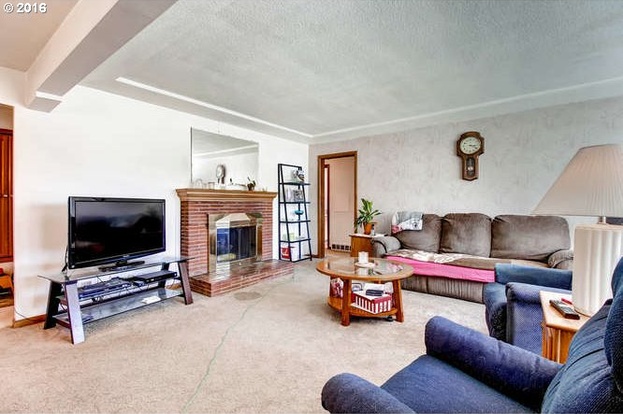
Can you smell the smoke in this room?

Originally published on 7/9/16, revised on 9/24/16 after work was complete. It worked! We successfuly removed all of the smoke smell from the house. Our realtor came back after the work was done, and noted that maybe the smoke wasn’t that bad to begin with. We took this as a compliment that it was so much improved that it was hard to remember how horrible it was before.

We are less than a month away from starting renovations on the ranch (house). The first item on the agenda is to address the most pressing issue: the cigarette smoke smell.

We are oddly grateful for this challenge because it did make this  house more accessible to us in a competitive Portland housing market. It’s a great house with fantastic interior space and good bones, but the first thing you notice when you walk in the door is the general stinky stale smoke smell (ew!)

After speaking with people who have had success in removing smoke, and a ton of internet research, I put together the following plan:

Note: Ventilate the house as much as possible during all the below steps (except for running the ozone machine)
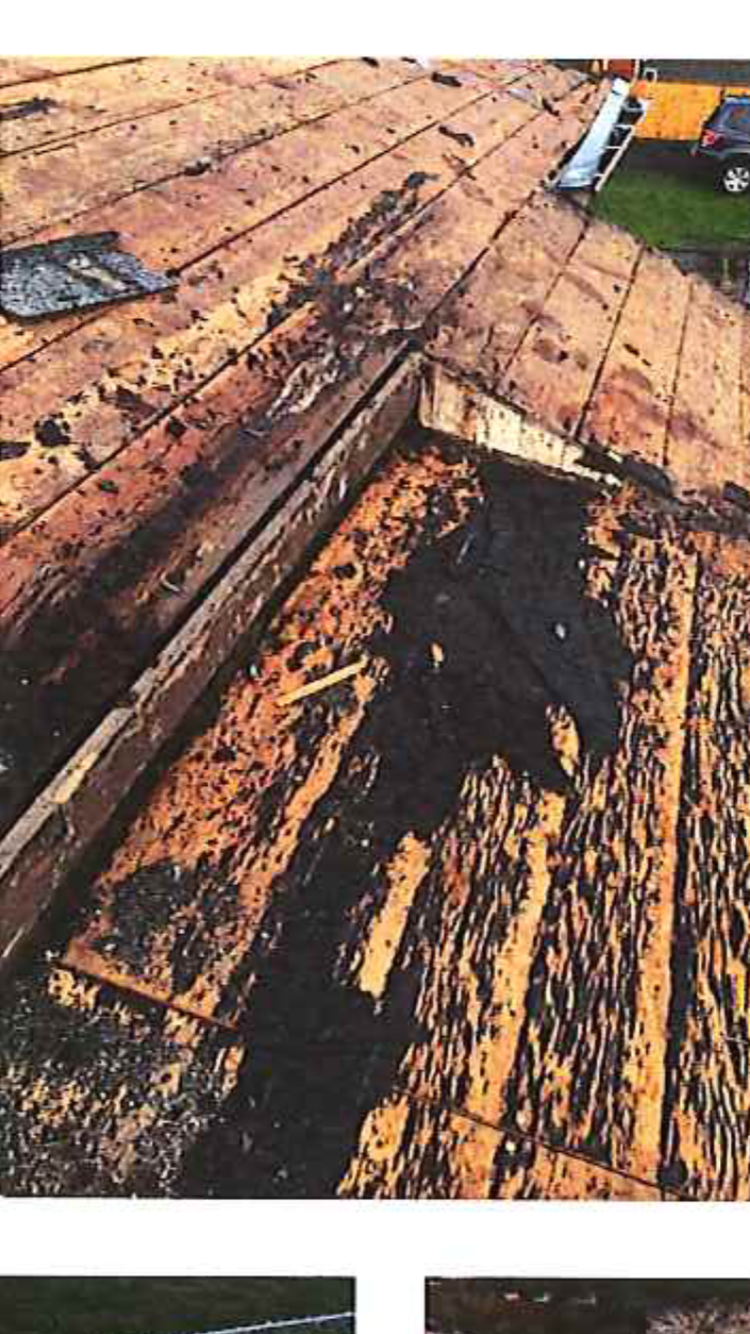
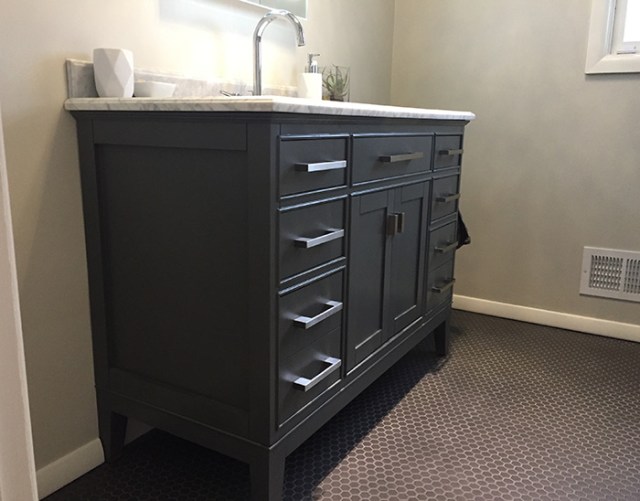
pull-out-carpet-for-web
Remove carpet
1. Remove all fabric surfaces: carpet, drapes, window coverings. There may be a way to keep the carpet, but we would rather have the hardwood floors anyway. The carpet has got to go (seems like a good general rule of thumb to start over on floor coverings anyway). I suspect that if you keep any smoky furniture, it will pretty much always smell like smoke unless you really shampoo the crap out of it. If you have non-fabric furniture, a wipe down similar to what you would do on the walls should  work.

9/24/16 Note: Removing the carpet first was definitely the right move. Taking the carpet out took a lot of energy, but not much time (a couple hours to take out the carpet, and several hours to pull out all the staples left in the hardwood). We initially stored the old carpet in the garage instead of the driveway since we thought it was going to rain before it got hauled away. The next day, we opened the garage and it stunk horribly like smoke. Even though the carpets had been cleaned before we moved in, I bet that probably 60% of the smoke smell was in the carpet.

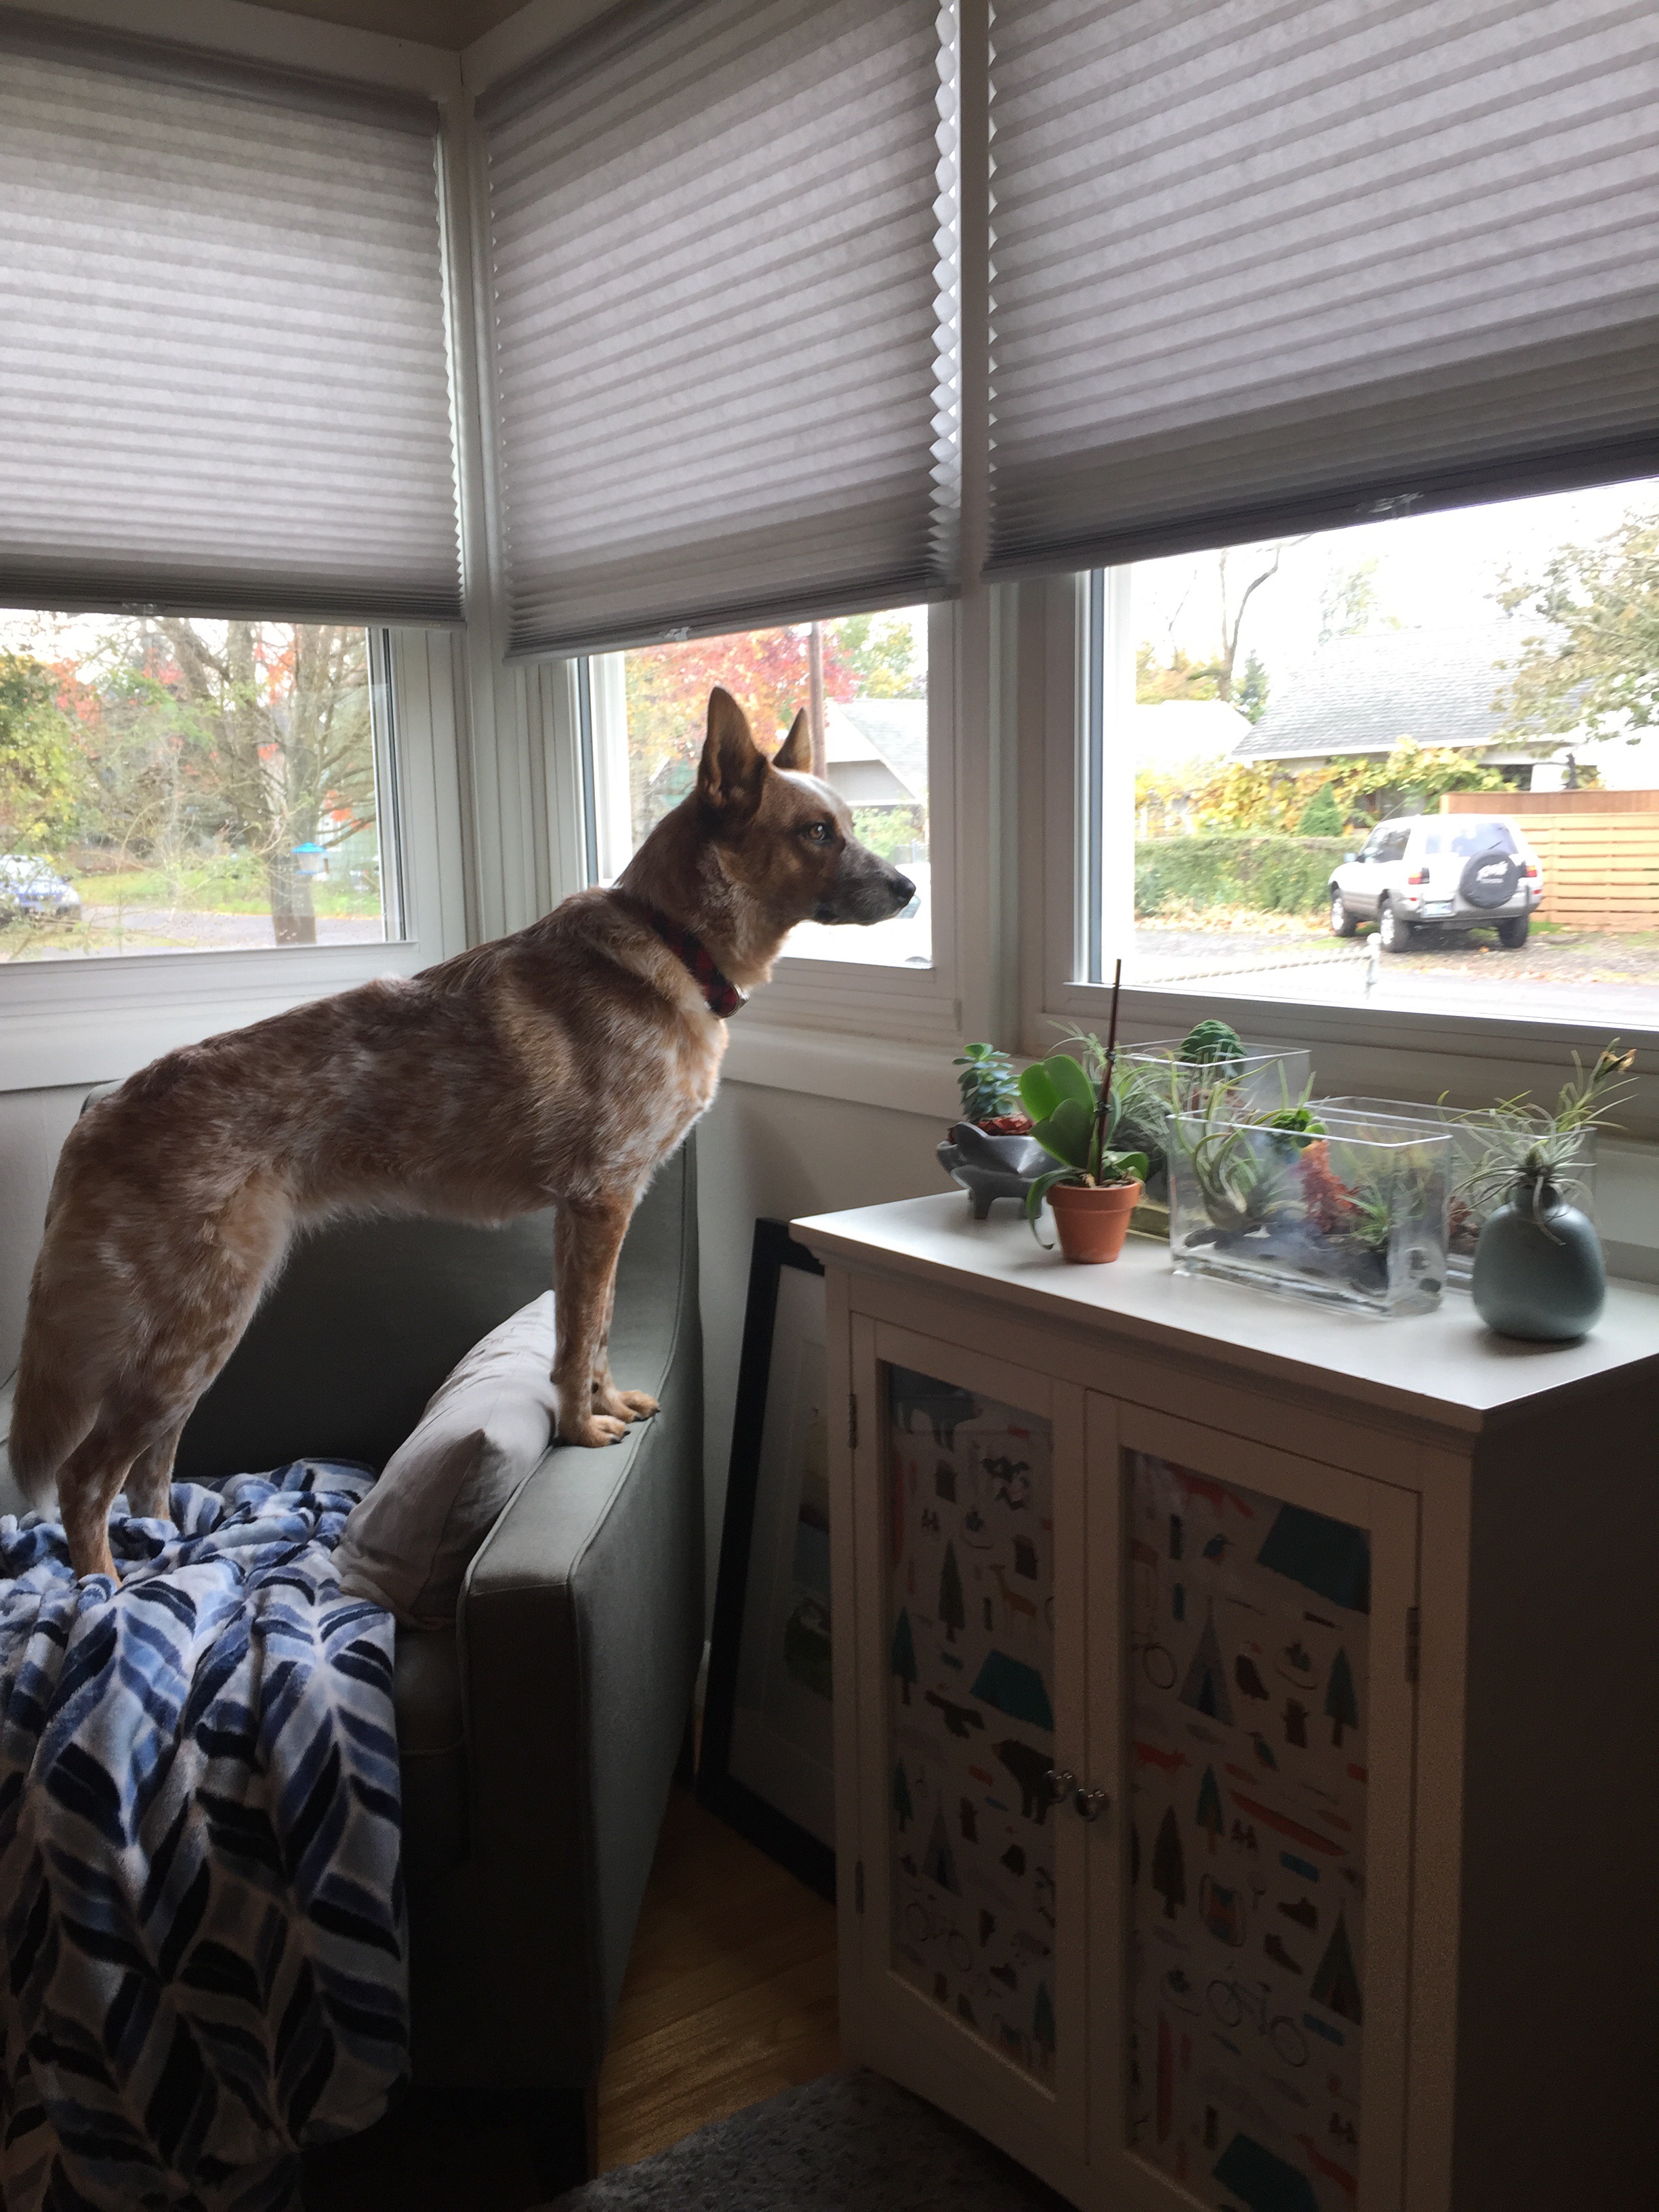
2. If you have blinds & screens, remove them, wipe with distilled white wine vinegar, and hose them off thoroughly outside

Run an ozone machine
3. Our smoke situation is bad enough that we are going to rent an ozone machine which neutralizes the molecules (or does something sciency) to eliminate the smoke smell. You should run the ozone machine for several hours when the space is unoccupied. Run it for a day before painting and refinishing floors, and again after. You can rent these at Home Depot, etc.

9/24/16 Note: Because all the other steps we took worked so well, we still haven’t run an ozone machine, and I’m not sure we will. Hotels & restaurants use them because ozone machines work well if you want to knock out the smell quickly and you can’t remove all fabrics & clean all surfaces.
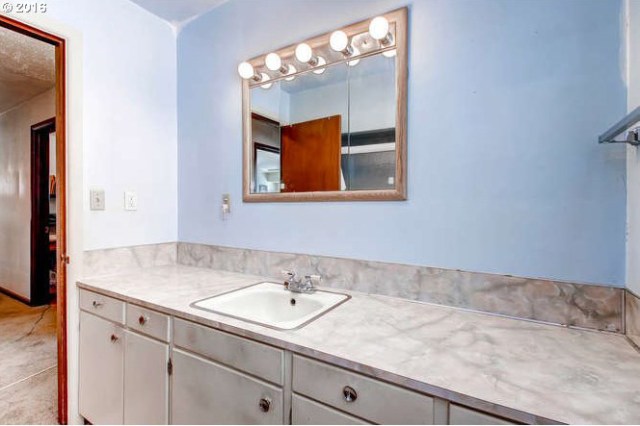
Smoky-corner-for-web

ceiling-wipe-for-web
Wash surfaces
4. Wash the walls and ceilings thoroughly. There are a couple different ways of doing this:

A. For lighter cleaning/more environmentally-friendly: Use diluted distilled white wine vinegar on rags to wipe down all surfaces & rinse thoroughly.

B. For more pervasive smoke smells, use TSP (trisodium phosphate). Mix 1 cup of TSP to 20 cups of water or buy a TSP spray to apply to your walls and wipe down thoroughly a washcloth. Wear gloves and protective eyewear for this whole process.

9/24/16 Note: Washing surfaces took a ton of time & energy, but I’m so glad we did it. The walls were literally dingy brown with smoke. The brushes & dirty water were dark brown to black. It was so gross – wiping down the walls and being splattered by the dirty brown water. EW! I recommend a mask, long sleeves, & of course protective eyewear. The other thing to keep in mind here is you have to do all surfaces, including ceilings, inside of closets, brick, cabinets, etc.


Prime & Paint
5. Paint a coat of a deodorizing primer on the walls & ceiling. I’ve heard of both Kilz and Bulleye, will come back to report on pros and cons.

9/24/16 Note: This worked amazingly well after TSPing the walls. We used oil-based Bullzeye tinted primer. It stunk to high heaven and you have to ventilate thoroughly and wear a mask, but it worked really well to seal the walls. Get a bunch of disposable brushes for this part, since oil-based paints require mineral spirits to clean brushes. Ain’t nobody got time for that.

6. Paint as your normally would. Here are a few resources on whites and grays (my favorite paint colors!)

Filter the air
7. Get a good air filter and run it 24/7. I like Rabbit Air and we run one whether we are de-smoking or not to keep out allergens,  but they are pricey, so any filter with a charcoal filter or odor eliminator will work

9/24/16 Addition: Have the HVAC system professionally cleaned
8. We called some HVAC specialists and let them know what the deal was with the smoke smell in the house. For about $300, they cleaned & deodorized all of the ductwork. This is definitely not something we had the equipment to do ourselves. We also replaced the central air filter, and now the forced air that comes out of the vents no longer contains the ghosts of cigarettes past.


A Spa-Like Bathroom Renovation in Progress

tile1

Wait, what – you’re still working on the bathroom? you must be thinking? And you’re right! Between more demo than we thought we would have to do, and the plumber, drywall & tile guys’ schedules, the bathroom is still a work in progress. The good news is that it’s getting closer and is going to have very solid construction and one helluva nice shower pan:

shower-pan

tile2
We got small hexagonal tiles for the floor and shower. We loved the hex tiles we had in our old house, and then read somewhere that they are better for slip-resistance since they have more grouted surface. However, we did select a darker grout than we had before, because white grout is for basic bitches.shower-wall