2017 at the Ranch


It’s been a big year. There hasn’t been a new blog post since March(!), but here’s a recap of what’s been going on this year with Ranch and its occupants.

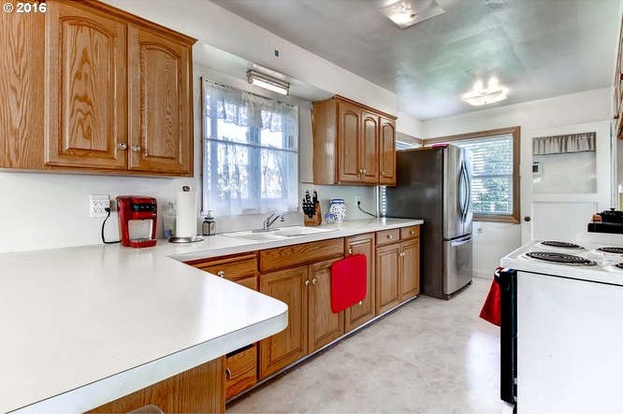
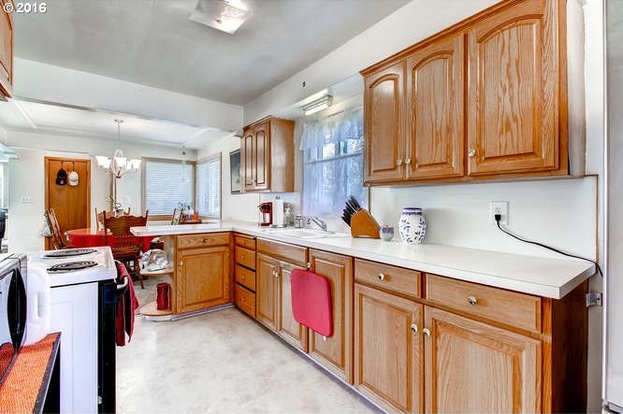
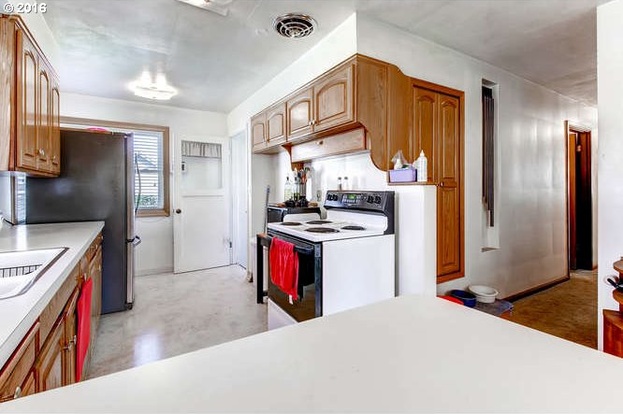
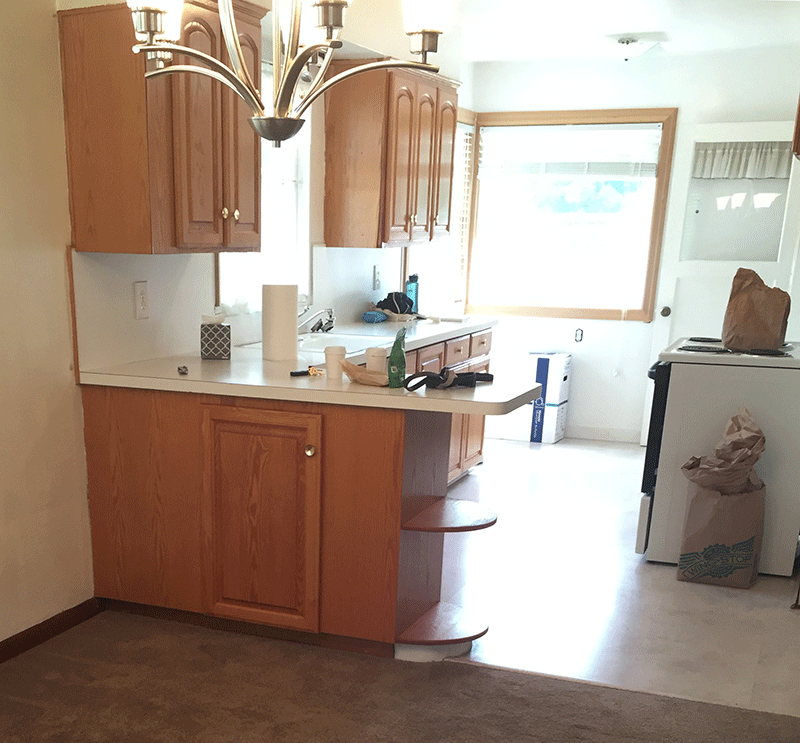
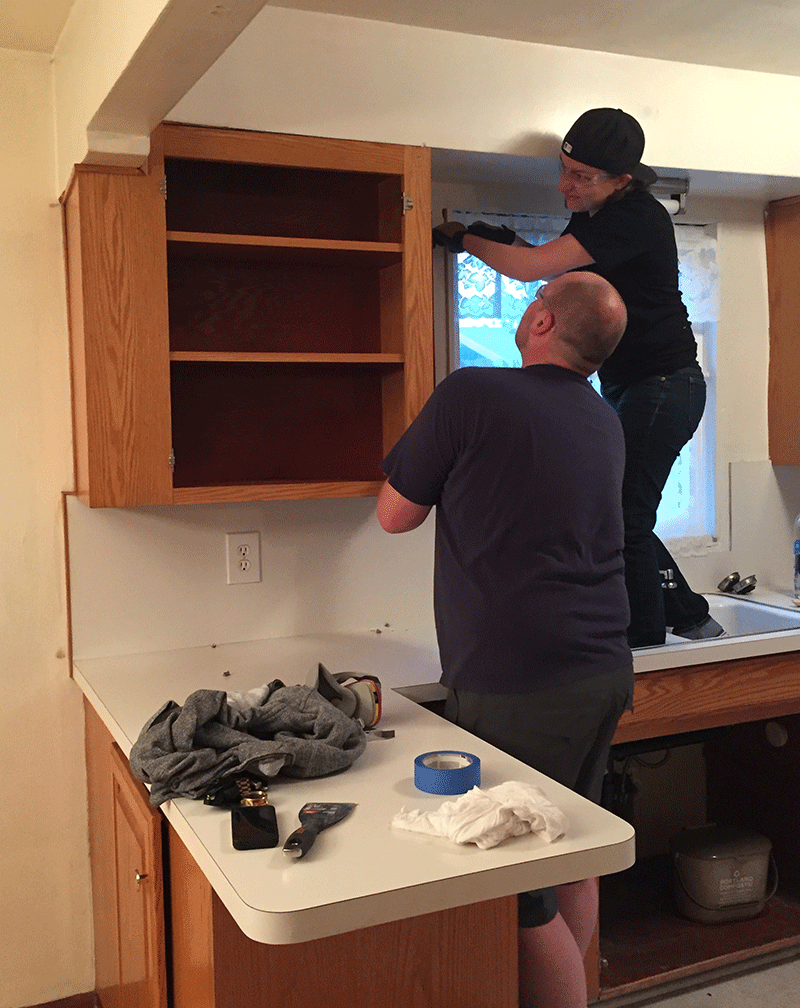
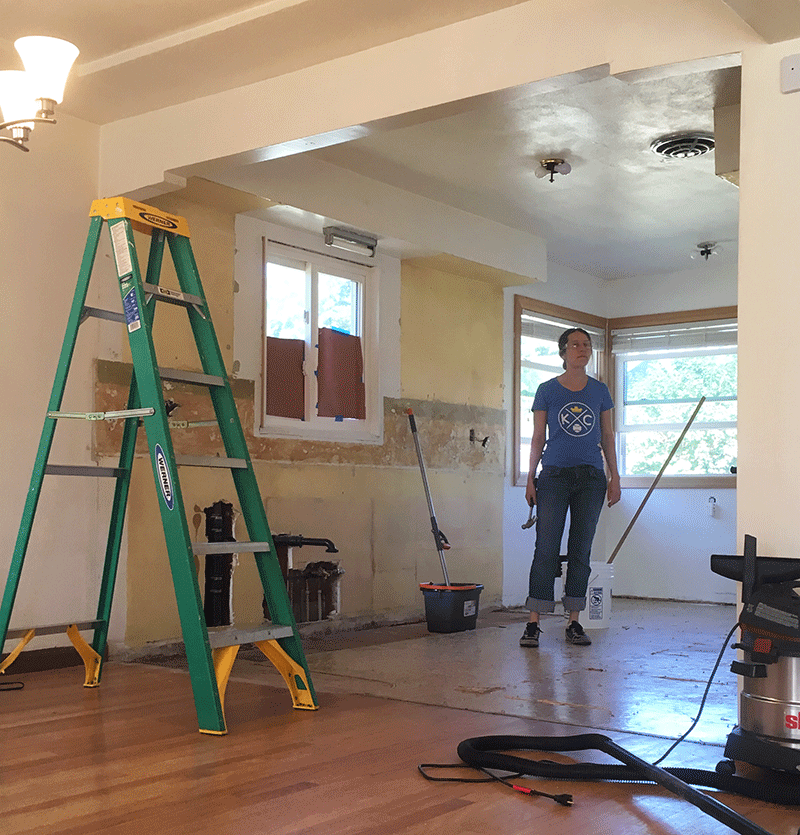
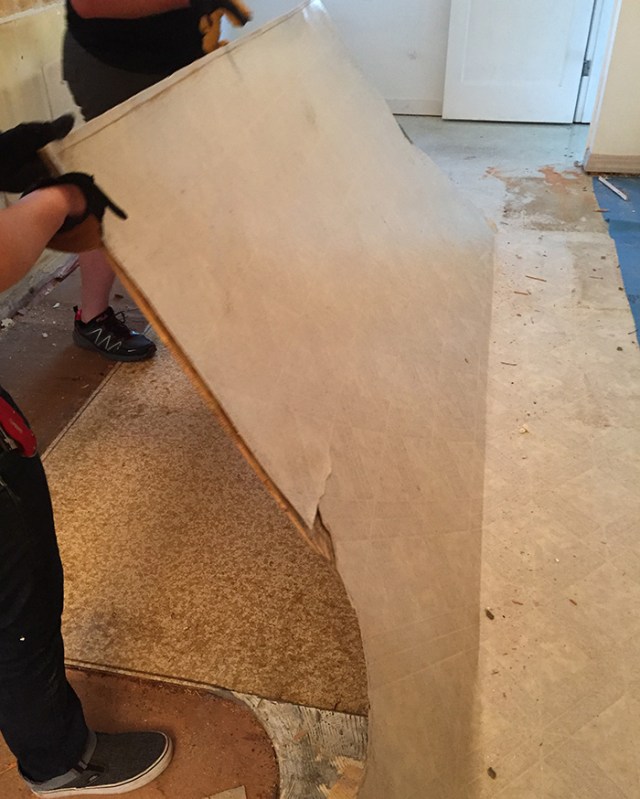
After the initial push to renovate the interior in Fall of 2016, and to deal with the surprise that the roof was actually made of Swiss cheese, we took some time off from any big and/or expensive renovation projects. In addition, after 12 years with my previous company, I switched jobs in May. This has been a smart move and a life upgrade, but has taken some focus away from house projects as I’ve come up to speed on a new platform and life at the early days of a technology start up.

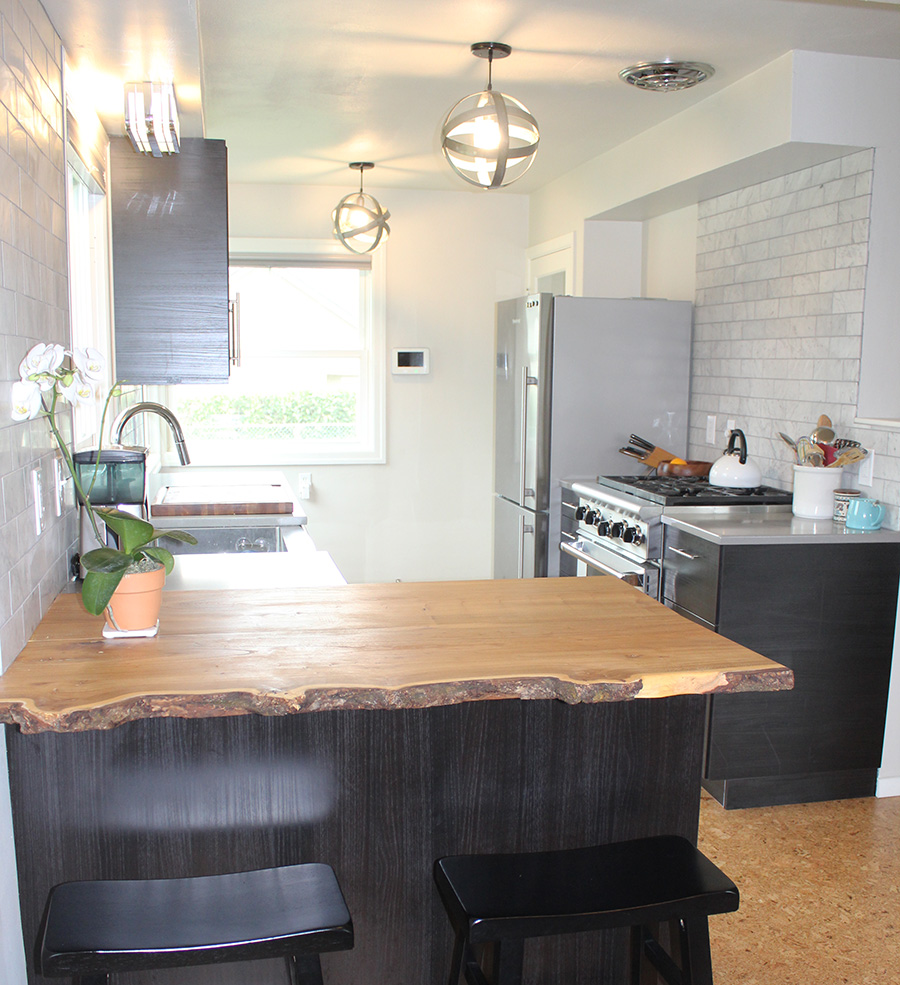
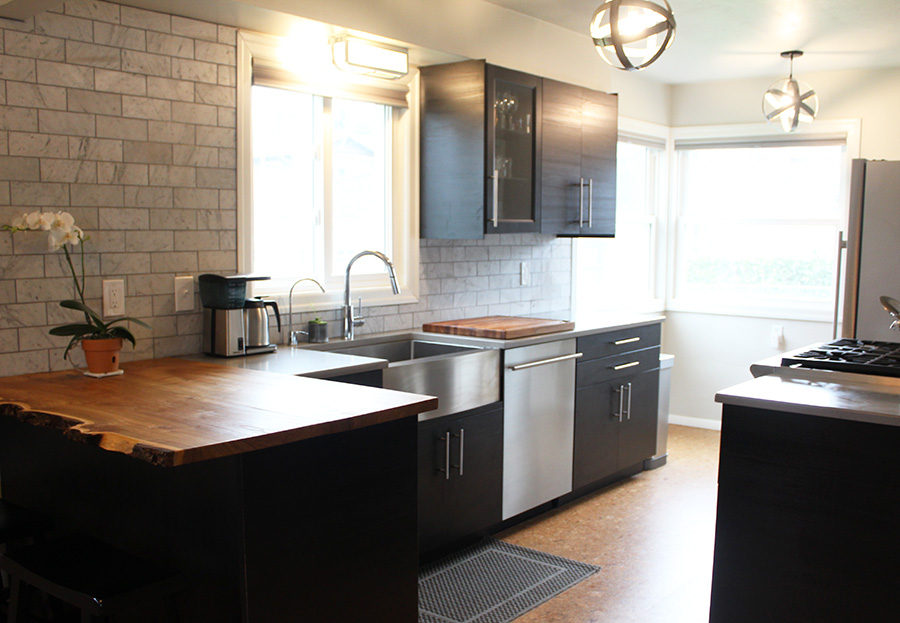
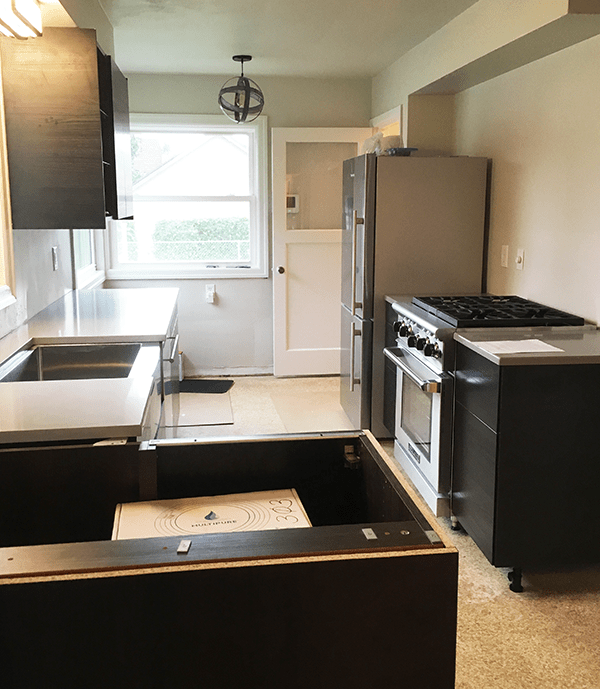
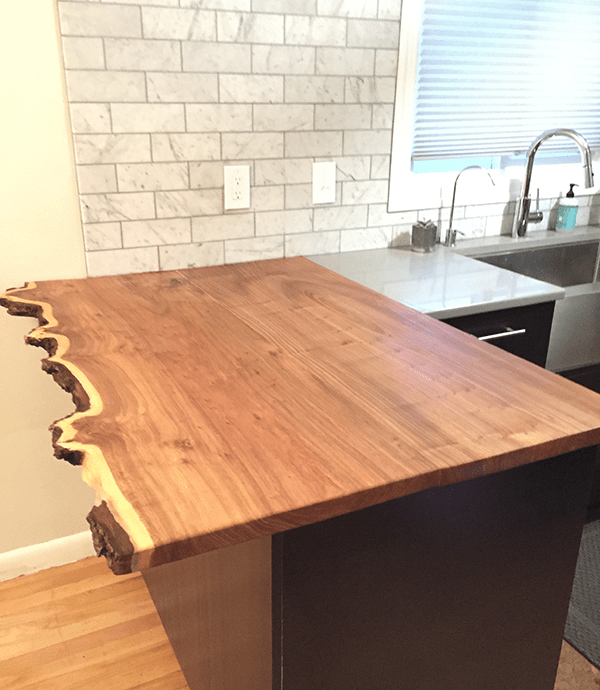
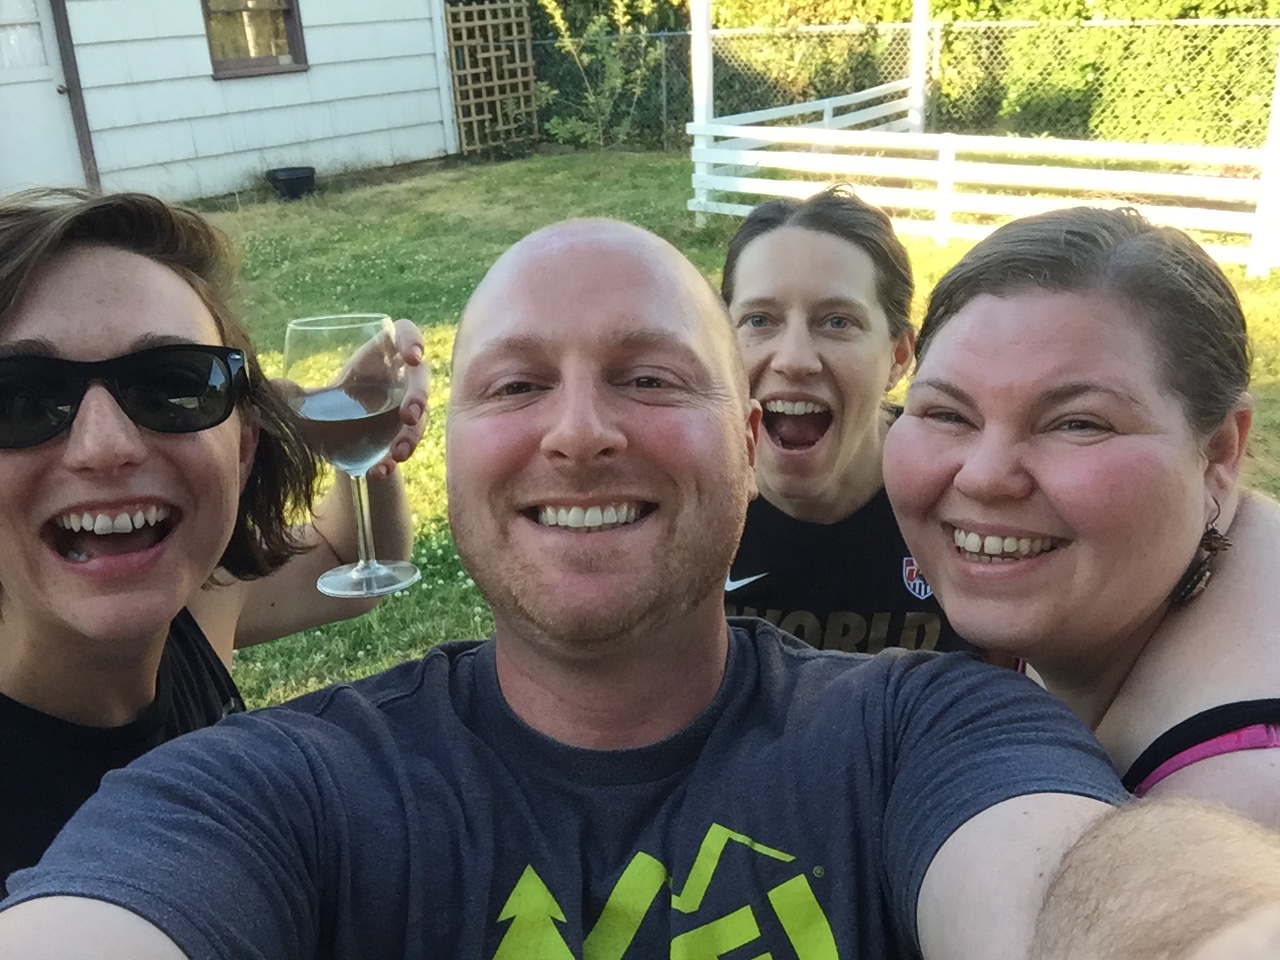
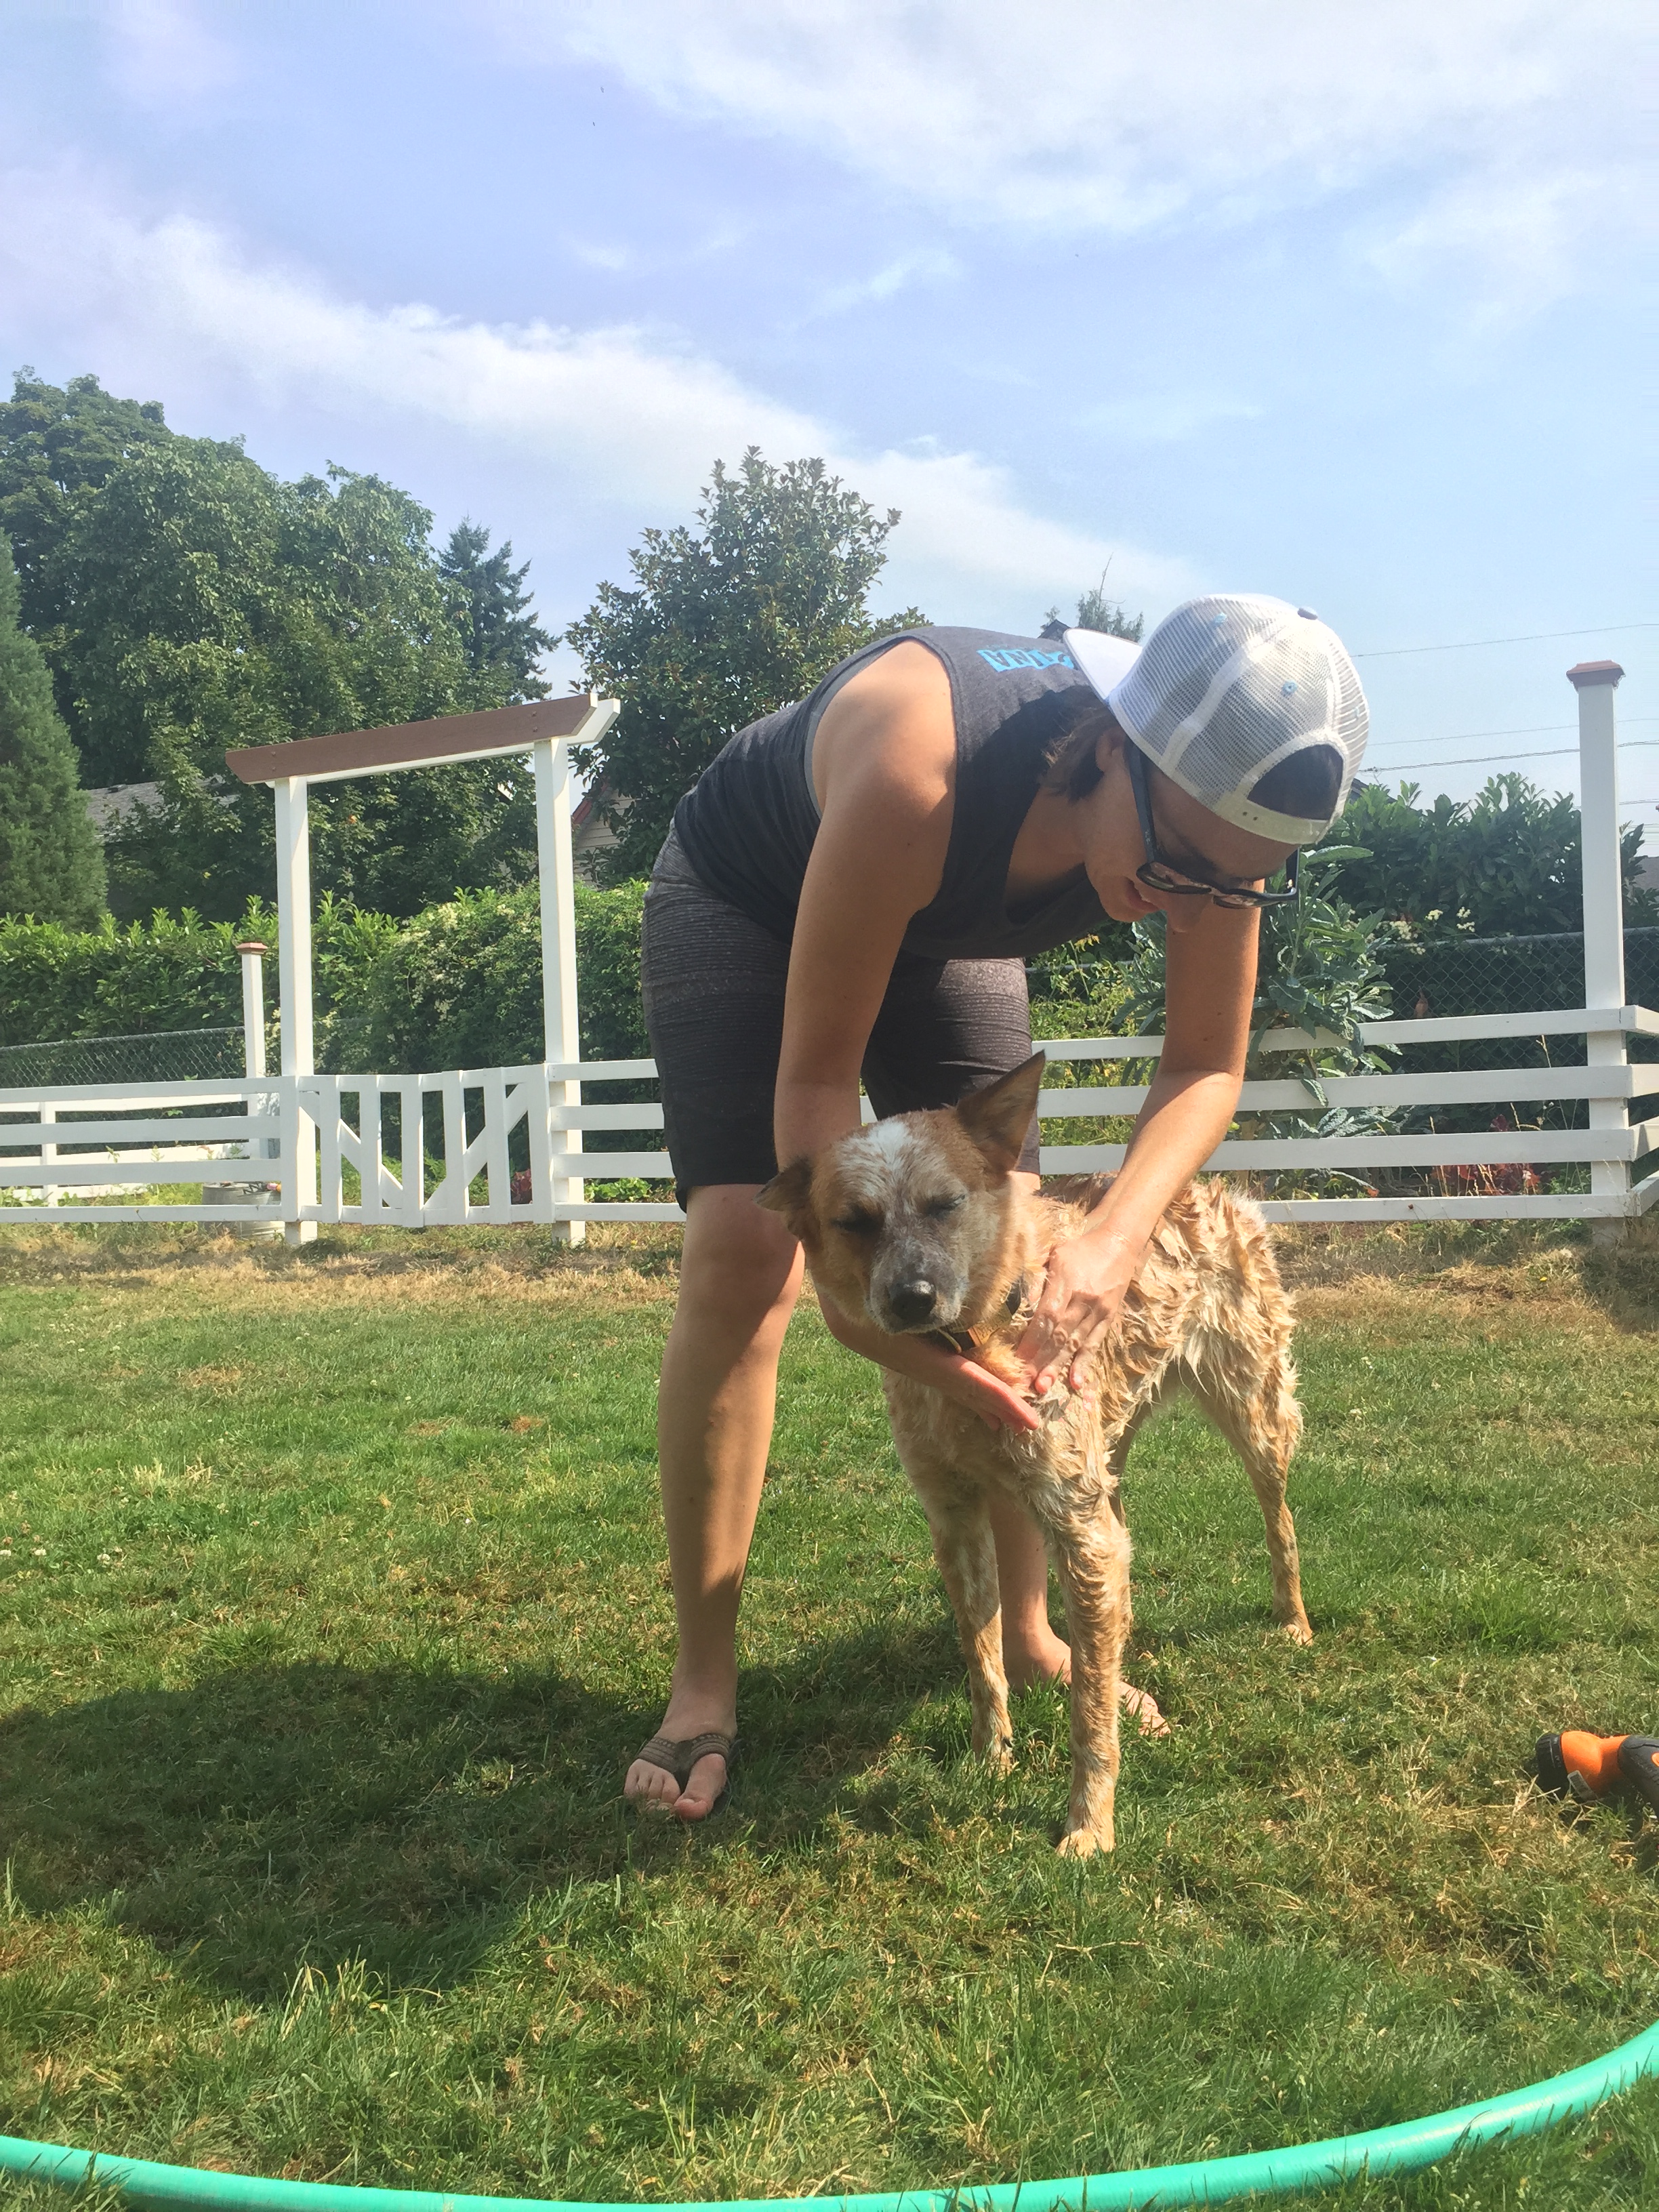
We’ve felt good about the complete renovation of the interior. We’ve been luxuriating in the spa-like shower experience that Mrs. Snodgrass designed & executed, and hosting many holidays in the open plan kitchen/dining area. We reclaimed the backyard kitchen garden, successfully grew tomatoes (for the first time!), planted a mini fern garden, hosted about a billion BBQs and dog romps, and have discovered that our friends’ first choice for a birthday celebration is usually a home cooked meal at the Ranch.

2016 and 2017 have had their fair share of shit (you know what I mean). I won’t get into that here. However, there has been a positive by-product of this downturn of events for our community and our country. We have declared the Ranch a safe haven for our circle of friends – those we’ve known for years as well as some the amazing new friends we’ve made here in Portland and beyond.  2017 has brought us together with a number of folks from near and far that we’ve met through fandoms, Clexacon, Thorns soccer, Instagram (yep!) and being open to creating a supportive community.  The ranch has been a key part of this because we have the space to host guests, an open plan to sit and eat, play with the dogs, enjoy the fire, watch Amy Sedaris, etc. This place has became a default home base for our little community.

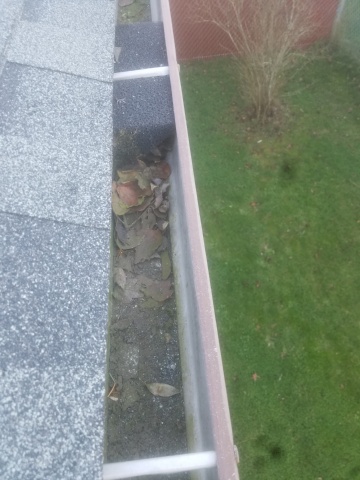
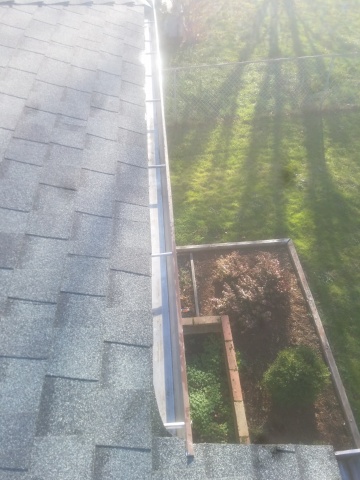
P.S. Here’s one update that is the kind of thing I would usually post: we had the gutters cleaned a couple weeks ago. During the Thanksgiving downpour, the most prominent gutter convergence near the front door was overflowing, which is about the worst place for a gutter failure. We thought: do we get up on a ladder (well, first buy a ladder that tall) and do this ourselves? I did a little research and it was about $125 to have them cleaned by “Neighborhood Gutters”. Sold! They even sent us some grainy before and after photos (my personal obsession):

Kitchen Before and Afters (Finally!)

After!

The kitchen before had some great qualities: spacious, big windows with lots of light, open to the living area, views of the side and backyard, plenty of room for appliances. Initially we thought we would keep the cabinets and just give them a good scrub. We planned to do what we did with the kitchen at the manor: refurb the cabinets, paint, replace the countertops & the appliances. Thinking this was the plan was probably how we allowed ourselves to buy the house and take on the project.

Then, we got in the house and saw how the cabinets were peeling in places, plus the smoke was entrapped in the cabinets, and that’s where our food was going to go, ew.

Here are the before & afters (after photos credit goes to Franzi, Scout’s backseat girlfriend):

Before 1
After 1: note the addition of a dishwasher!
Before 2. That sneaky cord leads to the refrigerator, which blocked the big window
After 2. We moved the refrigerator to the inside wall
Before 3. Behind that electric range was a hidden gem of an unused gas line.
After 3. We knocked out all the miscelaneous greasy cabinets above the range.
Behold: Hephaesta!

Once we got into the house we took a close look and said, ok – Ikea cabinets it is. Here are a few more (never before seen!) photos of the kitchen in progress:

The fun part
If you could read my mind, it would say “WTF”

Live Edge Bar Top

When we planned the kitchen counters, we wanted something heat-proof and impervious. Our last house had Paperstone, which had some great qualities (recycled, one piece,  nice-looking), it was high maintenance in the areas that got wet around the sink. It required oiling every month or so, and it couldn’t handle hot things.

For the kitchen in the ranch we wanted something heat and water resistant. With a tight timeline & budget, Caesarstone quartz from IKEA seemed like a good bet. So far, we are very happy with the Caesarstone. But we left the area by the bar open so we could take our time creating something more fun: a wooden bar top made out of local, live edge wood. (Queue the Portlandia music. Wait until you see our local, artisinally hand-hewn steampunk bar!)

In the middle of all the remodeling craziness when we gutted the kitchen, Laura got these beautiful pieces of Elm from Salvage Works. There is a cool story about this wood: these slabs are from a Siberian Elm tree that was removed to make way for the new Orange Max train line down to Milwaukie. We grabbed these pieces of wood knowing they were at least big enough to complete the bar, but exactly how we were going to install them was something Laura took her time stewing on while doing other projects.

Here’s the kitchen with the Ceasarstone installed, but a gap between the dining room and kitchen where the wood bar top was going to go:

kitchen-before-bartop

Here are the wood slabs before any cuts:

live-edge-closeup

live-edge-before.png

live-edge-in-progress-2

Laura broke down the larger pieces of wood at home with the table saw, then took them to ADX to do the planing and cut clean edges on all sides but the one facing the dining room. The two pieces needed to be joined in the middle with a dowel joint (creatively put together on site without a dowel jointer):

live-edge-in-progress-3

After much sanding and finishing, the bar looks great!  It’s my favorite place to lean and watch what amazing things are cooking up in the kitchen.

live-edge-complete

IKEA Kitchen Cabinet Assembly

cabinets-in-progress-3
Getting the IKEA cabinets (as well as assistance to put them together) has been an ordeal. About 6 weeks ago, I tried calling IKEA to schedule the measuring service they advertised on their site, but it was impossible to reach anyone. We were going to use their DIY CAD program online, but it didn’t work. The “create a new account” page ended in a circular loop. 😐

We were pretty set on the IKEA cabinets because of the design and pricing, so we perservered. We went to IKEA in the morning on a weekday and scheduled one of their in-house contractors (Kitchen Helpers) to come out and measure and put the data into their design tool. That appointment was a couple weeks out. Then, the person was a no-show, and rescheduled for the following week. Grrr.

Finally, the Kitchen Helpers rep came out and measured. We weren’t 100% sure the measurements were accurate because we watched the tape measure sagging while they measured. But we figured we didn’t have walls on either end, so if it varied by a few centimeters, no big deal. Laura re-measured some areas before we ordered.

Then the fun part: we went back to IKEA (we were able to go on a weekday, thank heavens) and walked through the design with an IKEA rep and placed the order. The IKEA design person was really good, and walked us through the whole process. She was also a wizard with that buggy CAD program, hallelujah!

The cabinets were all in stock and ready to be delivered within a week. With so many other scheduling delays, this was a pleasant surprise. Here’s what 74 boxes of IKEA cabinets look like:

ikea-boxes

We considered putting them together ouselves, but instead prioritized our sanity & marriage. We had a professional cabinet guy lined up. He was slow to respond, but came highly recommended. We played phone tag for a week, then he put me on his schedule, which was 3 weeks out. GREAT! Then a week later after seeing the schematics, he called me back and said he was 5 weeks out, and could we not schedule an actual date yet. For Pete’s sake. We don’t have that kind of time. We can’t be paying mortgage AND rent for another month. Plus, the countertops can’t even be templated until the cabinets are complete, which then takes another 2 weeks to be machined for installation. 4 to 5 weeks out for the cabinet build would have pushed out our kitchen completion over 2 months.

Back to the drawing board. I put a request for bids on Thumbtack and got a decent one. This carpenter appeared to have a lot of experience, ok reviews, and matched The Kitchen Helpers’ pricing. However, before I give a random dude I met on the internet access to my house, I Google him.

This guy was a full-on, Hillary hating, Bernie-bro turned Trump supporter. I don’t typically care about the politics of people I work with. We don’t get into it, and there’s no need to. But this guy’s Twitter page was full of illogical rage against Hillary and garish cartoon charicatures of her. Since Prop 8, I don’t respect people’s political opinions if they are racist, homophobic, or misogynistic. I will argue with them and call them out. I did us both a favor and told the guy we were going with another bid.

I found another company online that installs kitchens and specifically said IKEA cabinets were their specialty. I spoke with them and they sounded good, although said they were more expensive than the Kitchen Helpers, which was fine. Their quote took over a week to put together, which is fine. But it included a ton of extras, like painting ($600), project managing ($800), and a porta potty for workers ($350). The cabinet assembly was in there for about twice as much as our baseline from Kitchen Helpers. The estimate total was over $11,000. It made me realize how easy it is to go into massive debt on home renovation if you let someone else be in charge of your project, don’t shop around, and don’t do some of the work yourself.

So here we were… boxes of IKEA cabinets still in our living room, move-in clock ticking. I searched on Craigslist and found a handyman who had some good woodworking & IKEA experience. I called him and he was easy to reach. He sounded like a nice, reasonable fellow who enjoyed IKEA instructional diagrams. The Internet search didn’t turn up anything weird. I called a few of his references and they LOVED him, so we hired him! He’s been the right person for the job and we’re happy.

Here are the cabinets going in before the countertop and the kickplate. Don’t worry about the floors! We have a plan 🙂

cabinets-in-progress-1

cabinets-in-progress-2

Kitchen Demolition

Yesterday felt super productive. We prepped the walls for painting, which included patching a bedroom that appeared to have been used as a thumbtack pincushion for several decades. We also patched some larger, more prominent areas that had peeling paper or other large mysterious gaps.

laura-on-ladder-for-web

The exciting part was the kitchen demo, which we didn’t even start until about 6 pm last night. That’s when our crew was off work and able to lend a hand. We used a combination of hammering, kicking, crowbars, and sawsall to take out the upper cabinets and main countertop/sink area. Our crew did an amazing job, with Dave receiving the “He-man Award for Outstanding Application of Hulk Smash”, and Mary earned the “Most Colorful Curses while Deploying a Crow Bar” award. Laura won the “Feminism” award for best use of sawsall.

dave-mary-demo-for-web

team-demo-for-web

I didn’t think we would get to the floor. It was clearly several layers of linoleum that looked like a huge challenge to remove. We couldn’t clearly count the layers from the side view, but they totalled at least an inch high, which did not set up a good transition from hardwood floor to the kitchen – major trip hazard there.

Since the kitchen countertop & cabinets came out pretty well, we decided to attack the flooring as well. We removed the uppermost layer of linoleum (which included a layer of plywood). Then, after that came up, we attacked ANOTHER layer of linoleum & plywood. There was a total of 3 layers of linoleum and plywood on top of the subfloor. When we got to the last one, which appears to be the original from 1955, we decided to stop there. That layer will make a great base for our new cork flooring, plus we didn’t want to rile up the structural layer below.

flooring-demo-for-web